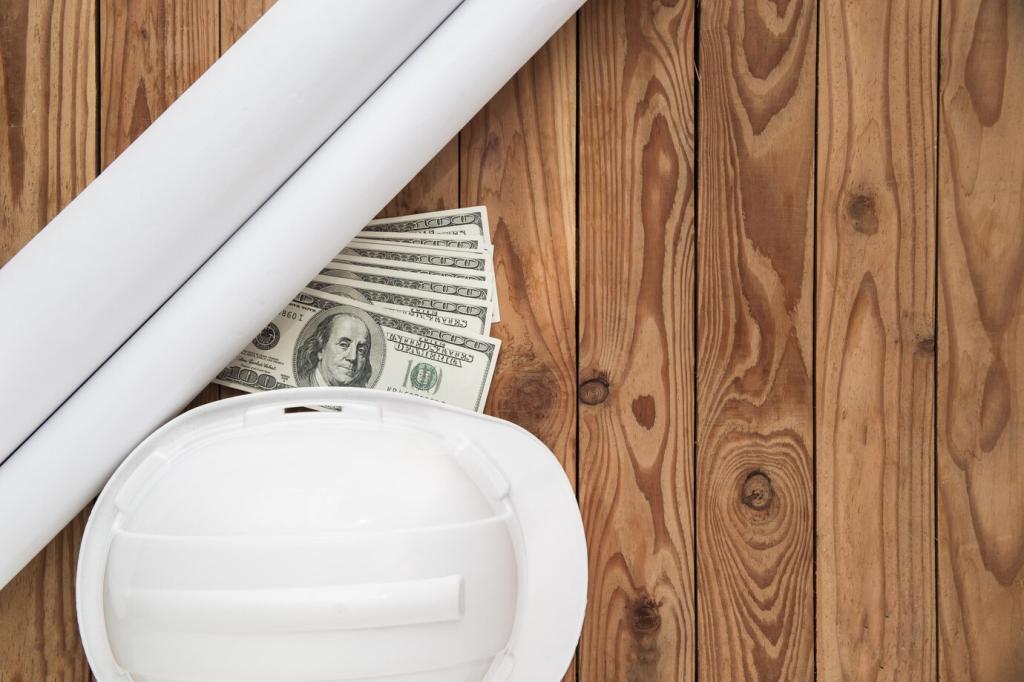
Dripping faucets not only waste water but can also lead to higher utility bills and potential damage over time. Fortunately, fixing these leaks doesn’t have to break the bank, and most common faucet issues can be addressed with basic tools and a little know-how. On this page, discover practical and affordable strategies for stopping those pesky drips. Whether you’re a novice or just want to save money, these methods are geared toward helping you resolve faucet problems efficiently while staying well within your budget.
Tools and Materials for Affordable Repairs
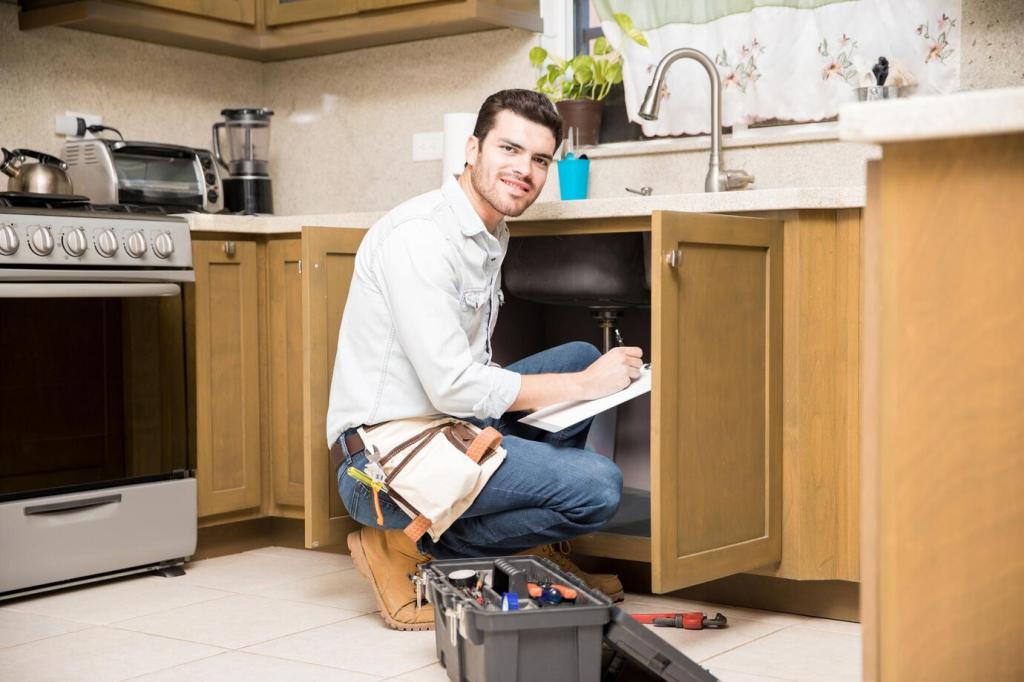
Simple household tools can suffice for most repairs. An adjustable wrench, a set of screwdrivers, and some pliers are foundational for faucet repairs. With these, you can dismantle the faucet, access the affected area, and install replacement parts. A flashlight can also help illuminate small or shadowed spaces under the sink, making the work faster and less frustrating—no specialized plumber’s tools necessary.
Before starting any repair, turn off the water supply and plug the sink drain to prevent losing small parts. Carefully remove the faucet handles using a screwdriver and gently lift out any decorative caps or covers. By taking your time during disassembly, you reduce the risk of damaging components, making the eventual reassembly much smoother and avoiding unnecessary expenses from preventable mishaps.
Diagnosing Worn Out Parts
Once the faucet is dismantled, inspect each component for signs of damage, such as warped washers, deteriorated O-rings, or mineral buildup on the valve seat. Even subtle wear can be enough to cause a persistent drip. By accurately identifying the faulty part, you ensure you’re replacing only what’s needed, which keeps costs down while providing a reliable fix.
Reassembling and Testing
After installing new or cleaned parts, carefully reassemble the faucet in the reverse order. Gently tighten all fittings to avoid over-compression, which can lead to new leaks. Once reassembled, gradually turn the water back on and observe the faucet closely for any signs of continued dripping. Thorough testing ensures the repair is successful, sparing you from repeated efforts and prolonging the lifespan of your faucet.